First Time Setup
Last updated: 6/17/2026
Take the first steps on your HatchPay journey by setting up the essentials to take advantage of the product.
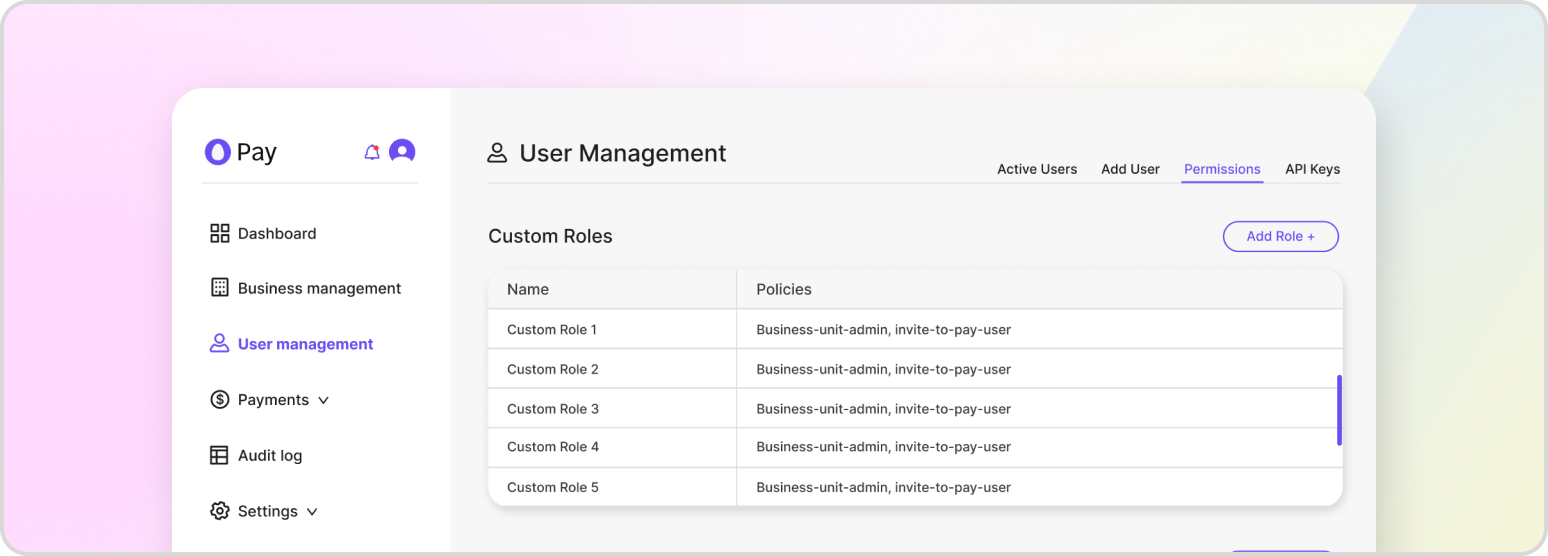
Once your tenant is registered, a few steps unlock the rest of HatchPay. Complete them in order:
-
Create a Business Unit — organize and configure the way transactions are managed.
-
Attach a Payment Orchestrator — this routes customer funds to a payment gateway and is required for HatchPay to process payments.
-
Generate an API Key — make system-to-system integrations and scope permissions.
-
Configure I2P Branding (optional) — if you use Invite2Pay, you can customize the customer-facing interface to match your brand.
-
Set up Accounting (optional) - automate EOD file generation for financial trakcing
-
Set up Webhooks (optional) — receive real-time notifications for relevant HatchPay events.
-
Start using the HatchPay API — once the above is done, you can begin processing payments.
Business Unit & Payment Orchestrators
You must first create a Business Unit to configure how transactions are managed, including how payments are routed and which business days govern when funds are captured. A Payment Orchestrator attached to that business unit is also required to send customer funds to the gateway. If neither is registered yet, follow Business Unit Setup.
API Key Generation
While an interactive session uses a JSON Web Token (JWT) to carry your identity, system-to-system integrations should use an API key, which is easier to manage and scope. Every tenant will have one API key upon onboarding. If you do not have one — or suspect its permissions are wrong — follow Generating an API Key.
I2P Branding (Optional)
If you use Invite2Pay (I2P), you can customize the interface customers see during payment. Left unconfigured, the customer sees the gateway’s default branding. In the tenant console you can configure a business unit’s branding under “Business Management” → select a business unit → the Branding section. Learn more in the I2P section.
Accounting (Optional)
End of day file generation occurs during the cutoff time specified by the business unit, and contains all transactions for that accounting day. The EOD (End of Day) file can then be sent to an outbound server for processing, given the details of that server are provided. Using the EOD file generation can be helpful if transactions need to be reported or analyzed.
Webhooks (Optional)
Webhooks notify your systems whenever a HatchPay event occurs that triggers this interaction. In the tenant console you can configure a business unit’s webhooks under “Business Management” → select a business unit → the Notifications section. For details, see Webhook Setup and the Webhooks reference.
Final Note
Once those steps are complete, you are ready to use the HatchPay API. Browse the Tutorials section for common tasks — for example, Start an I2P Flow to request a payment from a customer, or Create a Transaction to record one directly.