Authentication
Last updated: 6/17/2026
Authenticate with an API key or JWT and call the HatchPay API.
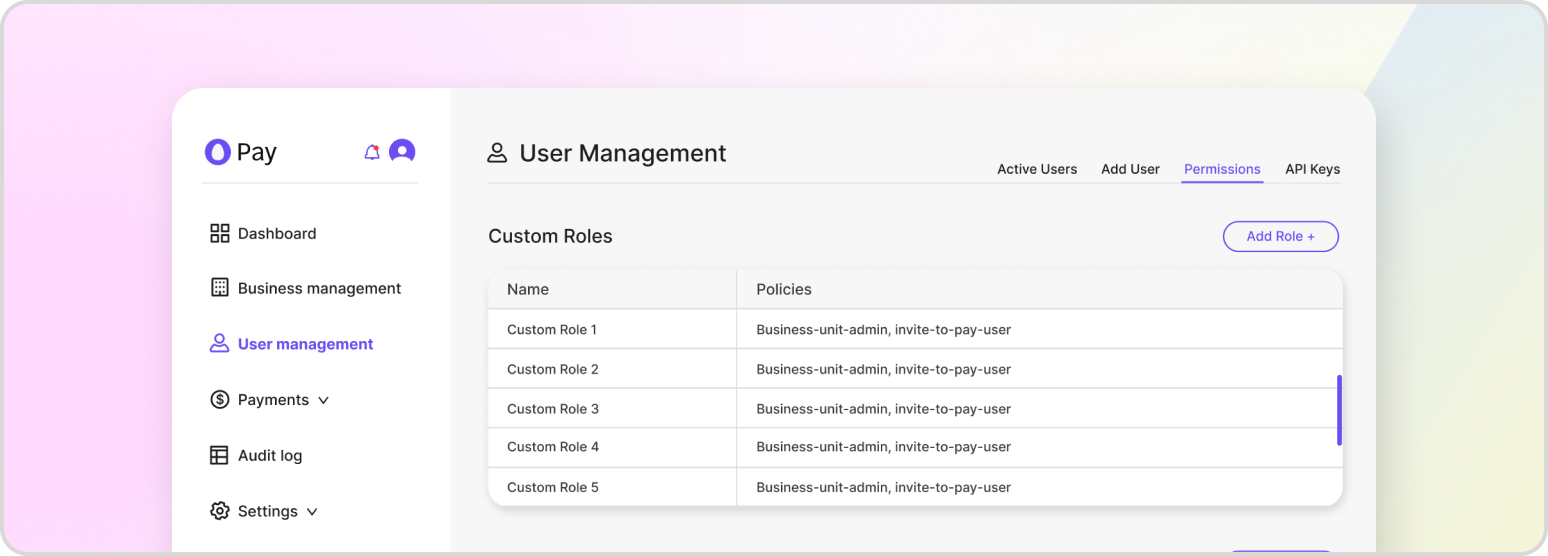
Every request to the HatchPay API is authenticated and audited. You can authenticate either with an API key — best for system-to-system integrations — or with a JSON Web Token (JWT) issued during an interactive session. Both identify the caller and carry the roles and permissions that determine what the caller is allowed to do.
Base URL & Required Headers
HatchPay’s services are reached through a single API gateway. Requests use the following pattern, where the environment is one of dev, qa, or prod and the service prefix selects the microservice (for example payment-proxy or business-unit):
https://api.{env}.acg.aaa.com/hatch-garage-api/hatch-pay-{env}/v1/{service}/{resource}As an example example, creating a transaction in QA targets would use the following URL:
https://api.qa.acg.aaa.com/hatch-garage-api/hatch-pay-qa/v1/payment-proxy/transactionsThroughout these docs, endpoints are written in their short form (for example POST /v1/payment-proxy/transactions) — prepend the gateway base URL for the environment you are calling. Every authenticated request should include:
Authorization: Bearer <token>— your API key or JWT.Trace-ID: <uuid>— a unique identifier per request, used for tracing and correlating audit logs.Tenant-ID: <uuid>— your tenant. The tenant ID can be found by navigating to “Plans and Billing” in the tenant console. When you authenticate with a JWT, the gateway derives this from your token; API-key callers should send it explicitly.
Generating an API Key
Creating an API key takes two steps: generating the credential, then attaching a role that scopes its access. Your first key is created during onboarding; afterward you can create more through the API, provided your caller has sufficient permissions.
To create the key:
POST /v1/api-key/keys
{
    "name": "Tenant API key",
    "description": "Default tenant API key"
}
The response includes the key’s id and its value (the secret you authenticate with). Store the value securely — you can retrieve it again later with GET /v1/api-key/keys/{api_key_id}/reveal.
Then attach one or more roles. Always grant the least privilege the key needs to do its job:
PUT /v1/api-key/keys/{api_key_id}/roles
{
    "role_ids": [
        "ea13f326-8166-4687-9dec-16f76f183ced"
    ]
}
Reviewing Roles & Permissions
Roles bundle the permissions a key or user will have. Before assigning a role, it helps to review the roles available and the permissions each grants.
GET /roles — list the roles defined for your tenant.
GET /permissions — list every permission HatchPay defines (for example transaction:RefundTransaction or invitetopay:StartTransaction).
Roles, policies, and the users they apply to are covered in depth in User & Role Management. For managing the keys themselves — listing, revealing, and deleting — see API Key Management.