I2P
Last updated: 6/17/2026
Invite2Pay facilitates the payment process between tenants and their customers.
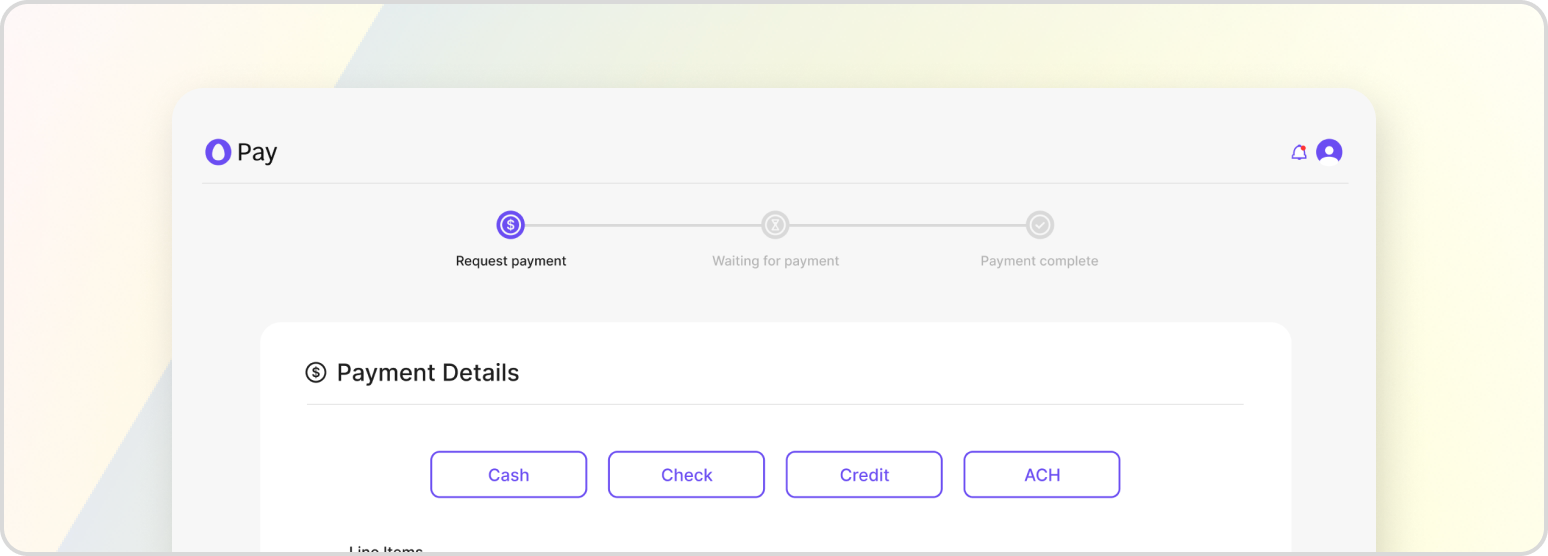
Invite2Pay (I2P) is a customer-facing interface that lets your customers enter their own payment information after you initiate a transaction by email or text. The interface guides the customer through entering their name, contact details, and payment method, and it can be branded to match your business for a seamless experience. Card details are entered directly with the payment gateway, so sensitive data never passes through your systems.
Getting I2P Set Up
I2P is available when the business unit’s payment gateway is Tempus; if a different gateway is configured, I2P cannot be used. To embed the experience in your own front-end, follow the Integrate I2P UI iFrame tutorial.
Reviewing Active Codes
Each I2P invitation is backed by a single-use code. To review the codes that have been issued — for instance, to find the one tied to a particular transaction — list them with:
GET /v1/invite-to-pay/i2p-codes
Each code reports its status (ACTIVE, EXPIRED, REDEEMED, or CANCELLED), the transaction it belongs to, and when it expires. You can also fetch the active code for a specific transaction with GET /v1/invite-to-pay/i2p-codes/transaction/{transaction_id}.
Marking a Transaction as Invite2Pay
You mark a transaction for I2P when you create it, by setting the i2p flag (see Mark Transaction as an I2P Request). HatchPay then generates the invite code and delivers the link by the communication_type you specified. Note that not every payment method supports I2P, so be sure the method and gateway you use are compatible.
Resending a Link
If a customer enters the wrong contact information or never receives the invite, you can re-send it. Follow the Resend an I2P Link tutorial, taking care to use the correct recipient details.
Branding
You can customize the title and logo a customer sees at the top of the I2P payment page so it reflects your business rather than the gateway’s defaults. Branding is configured per business unit during setup — see First-Time Setup.